
Open any social feed this week and you will be told, loudly, that you need another tool. A new generator launched. A new model dropped. A creator you follow just made a stunning ad and credited a platform you have never heard of. The temptation is to collect them all — one account for this, one subscription for that, a folder full of logins you barely remember creating.
Here is the honest starting point: more tools is not better. For product ads especially, a long list of tools usually produces a slower workflow, inconsistent results, and a creator who spends more time switching tabs than actually making anything. The creators whose work looks polished are rarely the ones with the most accounts. They are the ones who know exactly which job each tool in their small stack is there to do.
That is the shift this guide is built around. Do not choose AI tools for product ads by hype, by a viral demo, or by whichever launch video reached you first. Choose by job. A product ad is not made by one magical button. It is made by a short chain of distinct jobs — planning, reference images, video generation, and finishing — and different types of tools handle different links in that chain.
Once you see the workflow that way, the buying decision gets much simpler. You stop asking “what is the best tool?” and start asking a far more useful question: “what is the next job I actually need done, and what type of tool does that job well?” This article walks through those jobs, the criteria that genuinely matter when you compare your options, a decision framework for three common situations, and a fair way to test any tool before you commit to it.
One important note before we begin. AI tools change fast. Features are added, interfaces are redesigned, free access comes and goes, and pricing and commercial terms are updated regularly. Anything described here is about types of tools and how to judge them, not a promise about what any single tool offers today. Always check a tool’s official site for its current features, pricing, and terms before you rely on it or pay for it.
The Four Jobs in an AI Product Ad Workflow
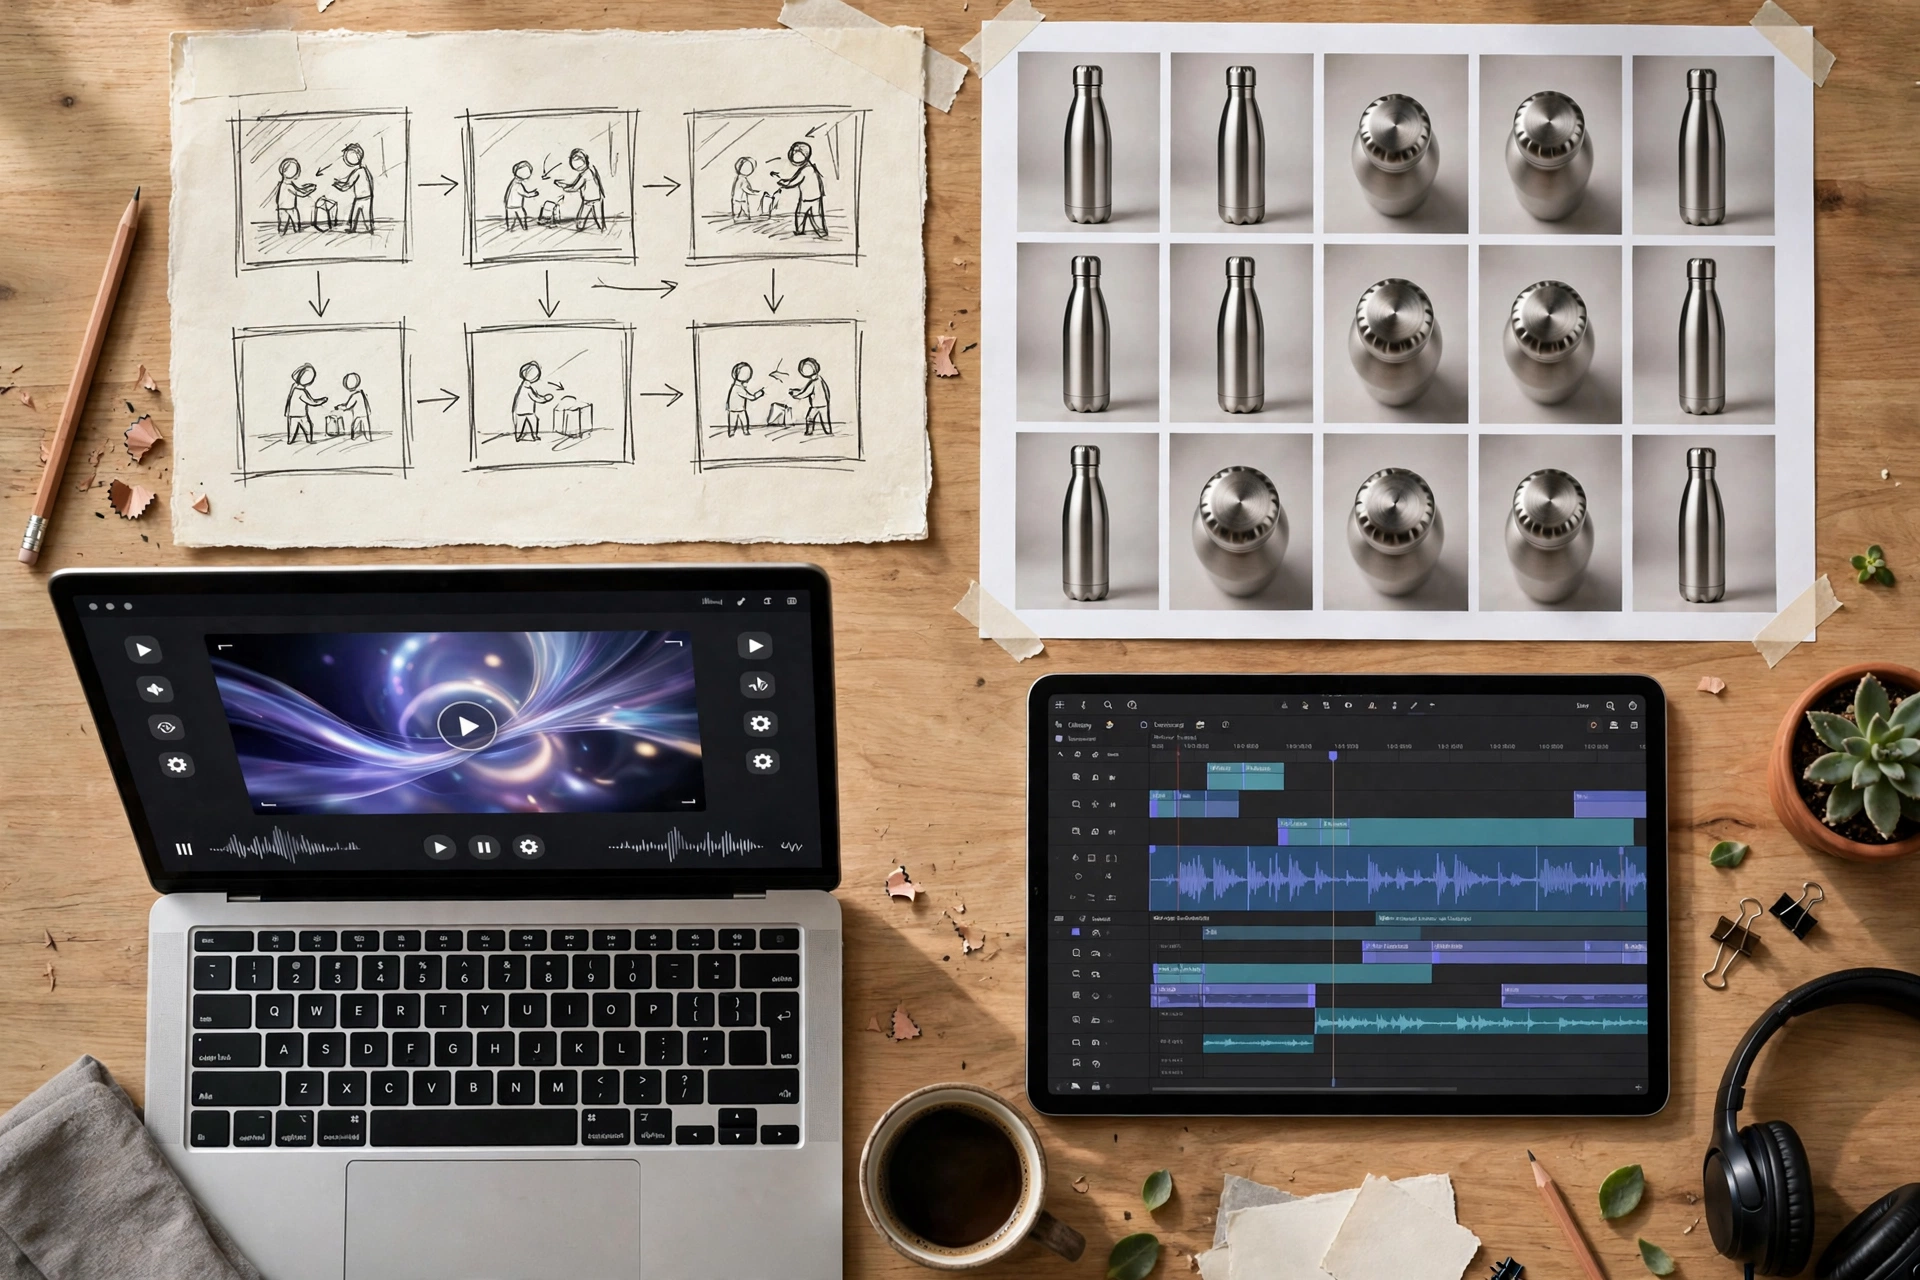
Think of a finished product ad — a sneaker rotating under dramatic light, a watch catching reflections as the camera pushes in, a drink can rising through ice and mist. It looks like a single creation. Behind it, there are almost always four separate jobs, and understanding them is the foundation of choosing well.
Job 1: Planning and Storyboarding
Before anything is generated, someone decides what the ad will show. What is the opening shot? Where does the camera move? When does the product appear, and what is the final frame the viewer remembers? In a traditional shoot, this is the storyboard and the shot list. In an AI workflow, it is just as important, because a generator can only follow the plan you give it.
This job is usually done with a general AI assistant or a simple planning document, not a video tool at all. On this site’s Instagram workflow, for example, ChatGPT is used for storyboarding — developing the shot sequence and the wording that will later guide the video generation. The tool type matters less here than the thinking: a clear sequence of shots, described in plain language, will improve the output of every tool that comes after it. If you want to see how that planning turns into a usable prompt, start with our guide to writing an AI product video prompt that turns one product photo into a cinematic ad.
Job 2: Image and Reference Creation
Generators work far better when they are given a strong reference than when they are asked to invent a product from a text description alone. This job covers preparing that visual starting point: a clean product photo, a multi-angle reference sheet, or a generated image that locks in how the product, a model, or a scene should look.
Tools for this job include image generators and image editing platforms, as well as all-in-one creation platforms that combine image and video steps in one place — insMind is one example of that all-in-one type used in the reels behind this site. The goal at this stage is not motion. It is accuracy: the right shape, the right colours, the right label, and a composition the video stage can build on.
Job 3: Video Generation
This is the stage most people mean when they talk about AI tools for product ads. An image-to-video generator takes your reference image and a prompt describing movement, camera behaviour, and mood, and produces a moving clip. Google Flow, Seedance, and Pollo AI are examples of the image-to-video tools used in the workflow behind this blog — Google describes Flow on its official page, which is the right place to check what it currently offers.
Different generators have different strengths, and demos rarely show you the failures. One may handle a slow, elegant camera push well but struggle with fast action. Another may produce energetic motion that quietly warps the product halfway through. That is why this stage deserves the most careful testing, using the method set out later in this article.
Job 4: Editing and Finishing
Generated clips are raw material, not a finished ad. The final job is assembly: choosing the best takes, trimming them, ordering the shots, adding music and sound, placing any text carefully, and exporting at the right size and quality for the platform where the ad will run.
Standard video editors — the same category of software used for any short-form content — handle this stage. It is the least glamorous job and the one beginners most often skip, yet it is frequently the difference between a clip that looks generated and an ad that looks produced. Budget for it in your stack from day one, even if the tool you use for it is a simple one you already know.
The Criteria That Actually Matter
With the four jobs clear, you can judge any tool against criteria that affect your finished ad, rather than against a feature list written to impress you. Not every criterion matters equally for every creator, but for product ads, these are the ones that decide whether a tool earns its place.
- Image-to-video quality. How clean is the motion the tool produces from a still image? Look for smooth movement without jitter, warping, or sudden changes in the scene. Judge it on your product, not on the tool’s showcase examples.
- Product and subject consistency. Does the product stay itself for the whole clip? A sneaker that changes shape, a label that melts, or a model’s face that drifts between shots will break an ad faster than any other flaw. For product work, consistency usually matters more than spectacular motion.
- Camera control. Can you describe or direct how the camera moves — a slow push-in, an orbit, a tracking shot — and does the tool follow that direction reliably? Product ads live on controlled, deliberate camera work, so vague or chaotic movement is a real limitation.
- Aspect ratios for your platform. Most product ads today are made for vertical feeds first. Check that the tool can comfortably produce 9:16 output for Reels and Shorts, and, if you also publish longer content, a widescreen format for YouTube — without awkward cropping of the product.
- Export quality. A beautiful preview means little if the exported file looks soft or compressed. Look at the actual downloaded result, especially fine details like stitching, reflections, and small text on packaging.
- Free access or a trial, in general terms. Many tools in this space offer some way to try before paying, but what is free, limited, or paid changes often. Treat any free tier or trial as a testing opportunity, verify the current details on the official site, and do not build a business plan around access that could change.
- Learning curve. How long before you can make something usable? A powerful tool you never master is worth less than a simpler one you understand deeply. Beginners should weight this heavily; experienced creators can afford to weight it less.
- Commercial use terms. If an ad will promote your own products or a client’s business, the tool’s terms for commercial use matter as much as its output. Terms differ between tools and between plans, and they change. Read the current terms on the tool’s official site yourself before using generated content in paid or client work, and keep a note of what you checked and when.
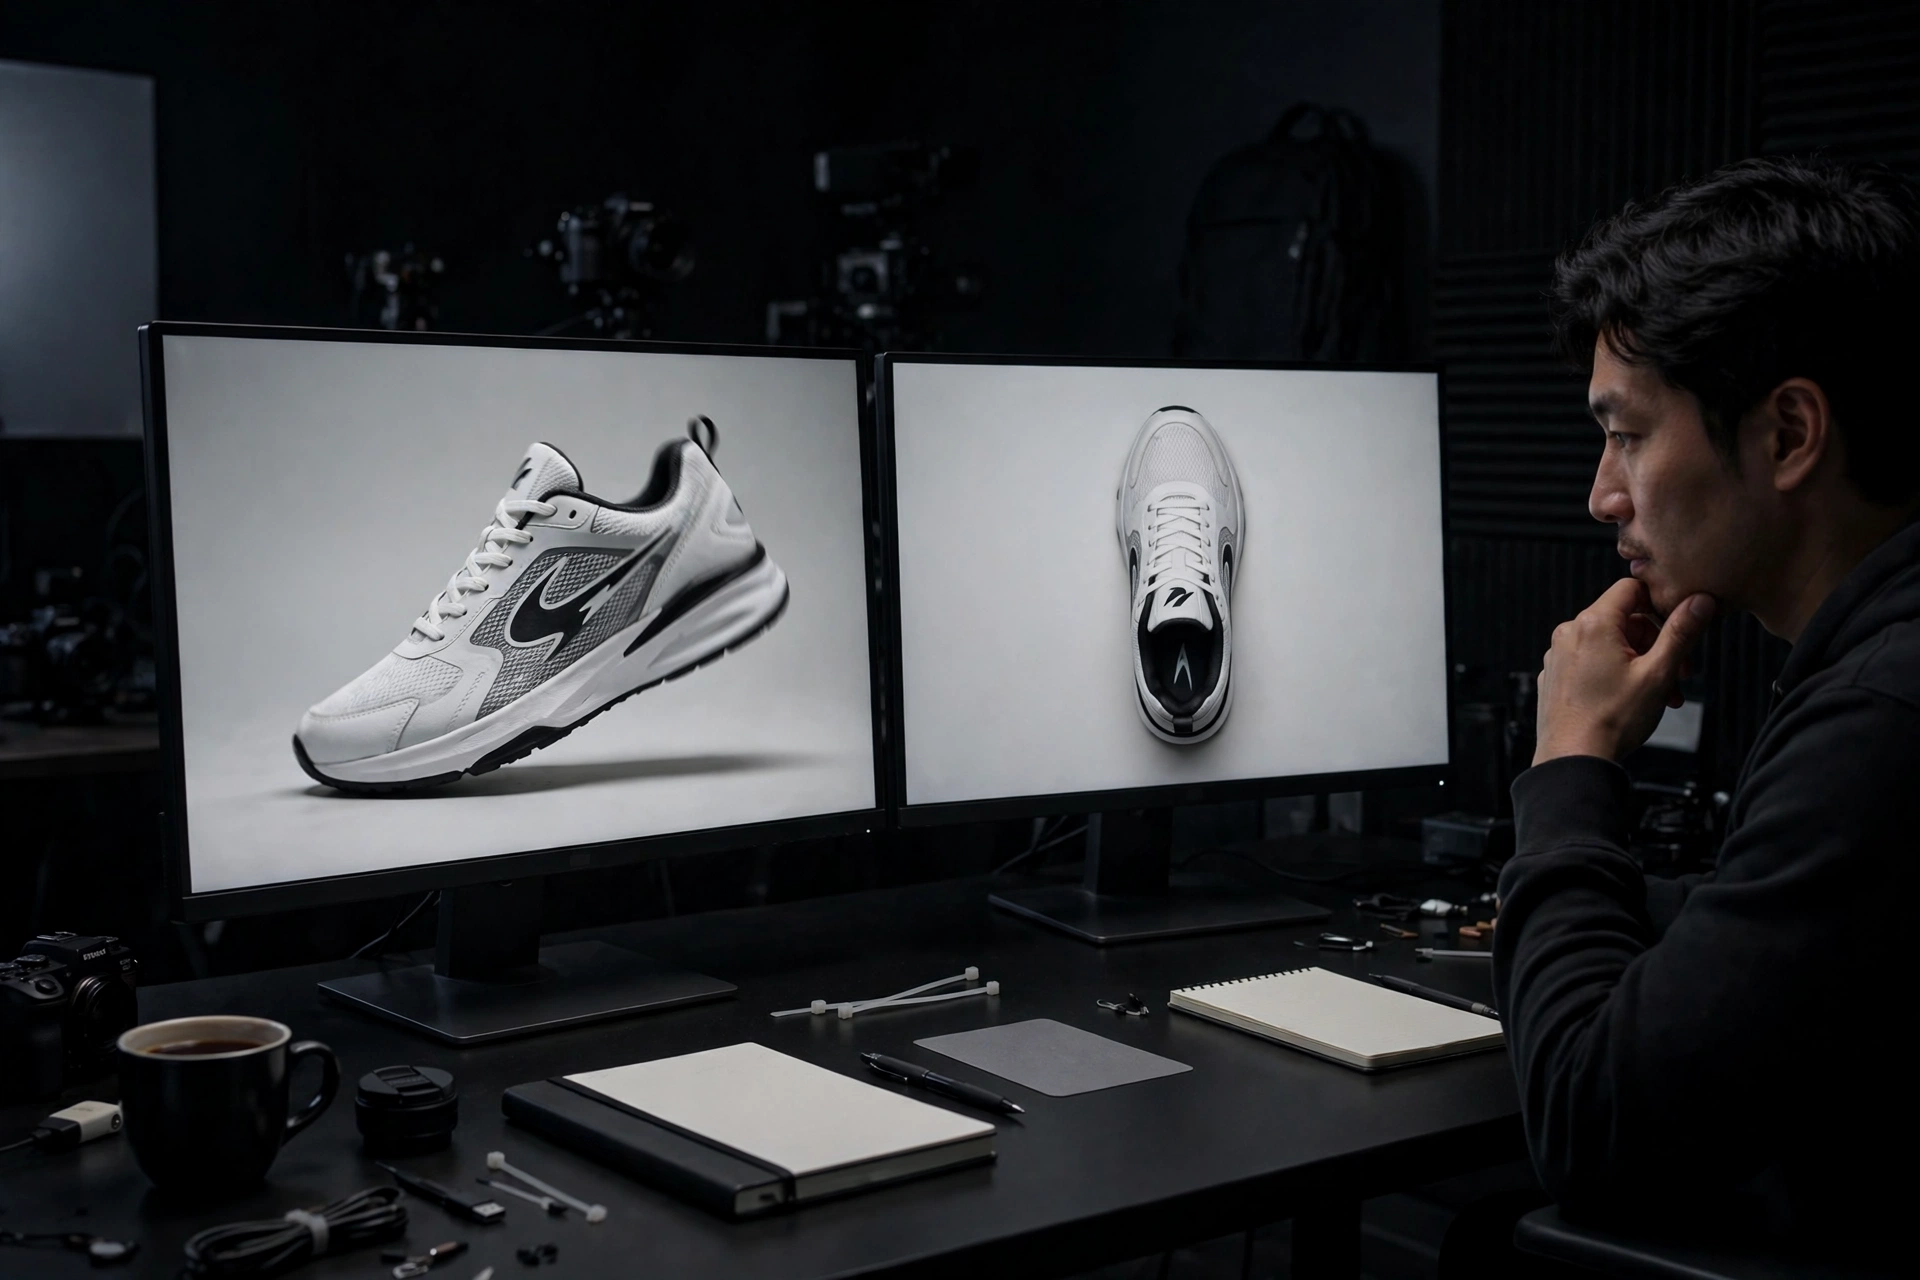
Two of these deserve emphasis because beginners routinely get them backwards. Consistency beats spectacle: a quiet, stable shot in which the product looks exactly right will sell better than a wild effects sequence in which the product looks wrong. And terms beat features: the most impressive tool in your stack is a liability if its current terms do not allow the use you are making of it.
You will find more tool-by-tool thinking in our AI Tools & Reviews category, where the focus stays on how a tool behaves in a real product ad workflow rather than on launch announcements.
A Simple Decision Framework: Start From Your Situation
Criteria are useful, but most readers are really asking a personal question: given where I am, what should my setup look like? Here are the three situations that cover most people who find this blog, and the type of setup that suits each. Notice that none of them starts with “buy everything.”
If You Are a Beginner With One Product
Your goal is one good ad, not a content system. Keep the stack as small as it can be: a way to plan your shots, one image-to-video generator you will learn properly, and an editor you already have or can learn quickly. Resist splitting your attention across several generators at once, because you cannot judge a tool fairly until you have pushed it past the first clumsy attempts.
Work through a single, complete example before you experiment. Our step-by-step luxury sneaker ad with AI shows the shape of a finished result — one product, a planned sequence of shots, and a polished final video — and that kind of end-to-end example teaches more than a dozen tool demos. When your one generator clearly cannot do a job you need, that is the moment to consider adding a second one, and not before.
If You Are a Creator Making Daily Reels
Your problem is different: speed and repeatability. A daily posting rhythm punishes any workflow with too many handoffs, so the setup that suits you is a stable pipeline — the same planning habit, the same reference-image routine, one or two generators you know deeply, and a tight editing template. Familiarity is your speed. A tool you have used two hundred times will beat a theoretically better tool you opened yesterday, every single day of the week.
For daily creators, consistency across posts matters commercially as well as creatively. Your audience learns to recognise your look, and brands watching your page are judging whether you could produce that look for them. A small, mastered stack protects that recognisable style far better than constant tool-hopping.
If You Are a Seller Making Ads for Clients
Your stack is a business tool, so judge it like one. Reliability and consistency come first, because a client is paying for a result you can repeat, not for an experiment. You will also need the clearest possible picture of each tool’s current commercial use terms, checked by you on the official site, because the work is explicitly commercial.
Client work also changes the finishing requirement. Deliverables need clean exports, correct formats for the platforms the client uses, and files organised well enough that a revision request does not mean starting again. A slightly less exciting stack that delivers predictably, on time, in the right format, is the professional choice. Add new tools between client projects, test them on your own products first, and only promote them into client work once they have earned it.
How to Test Any Tool Fairly
Most tool comparisons online are unfair by accident. Different photos, different prompts, different effort — and then a confident verdict. You can do better with a simple, repeatable test that takes less time than scrolling reviews, and tells you what you actually need to know: how this tool handles your product.
Use this method for every candidate tool:
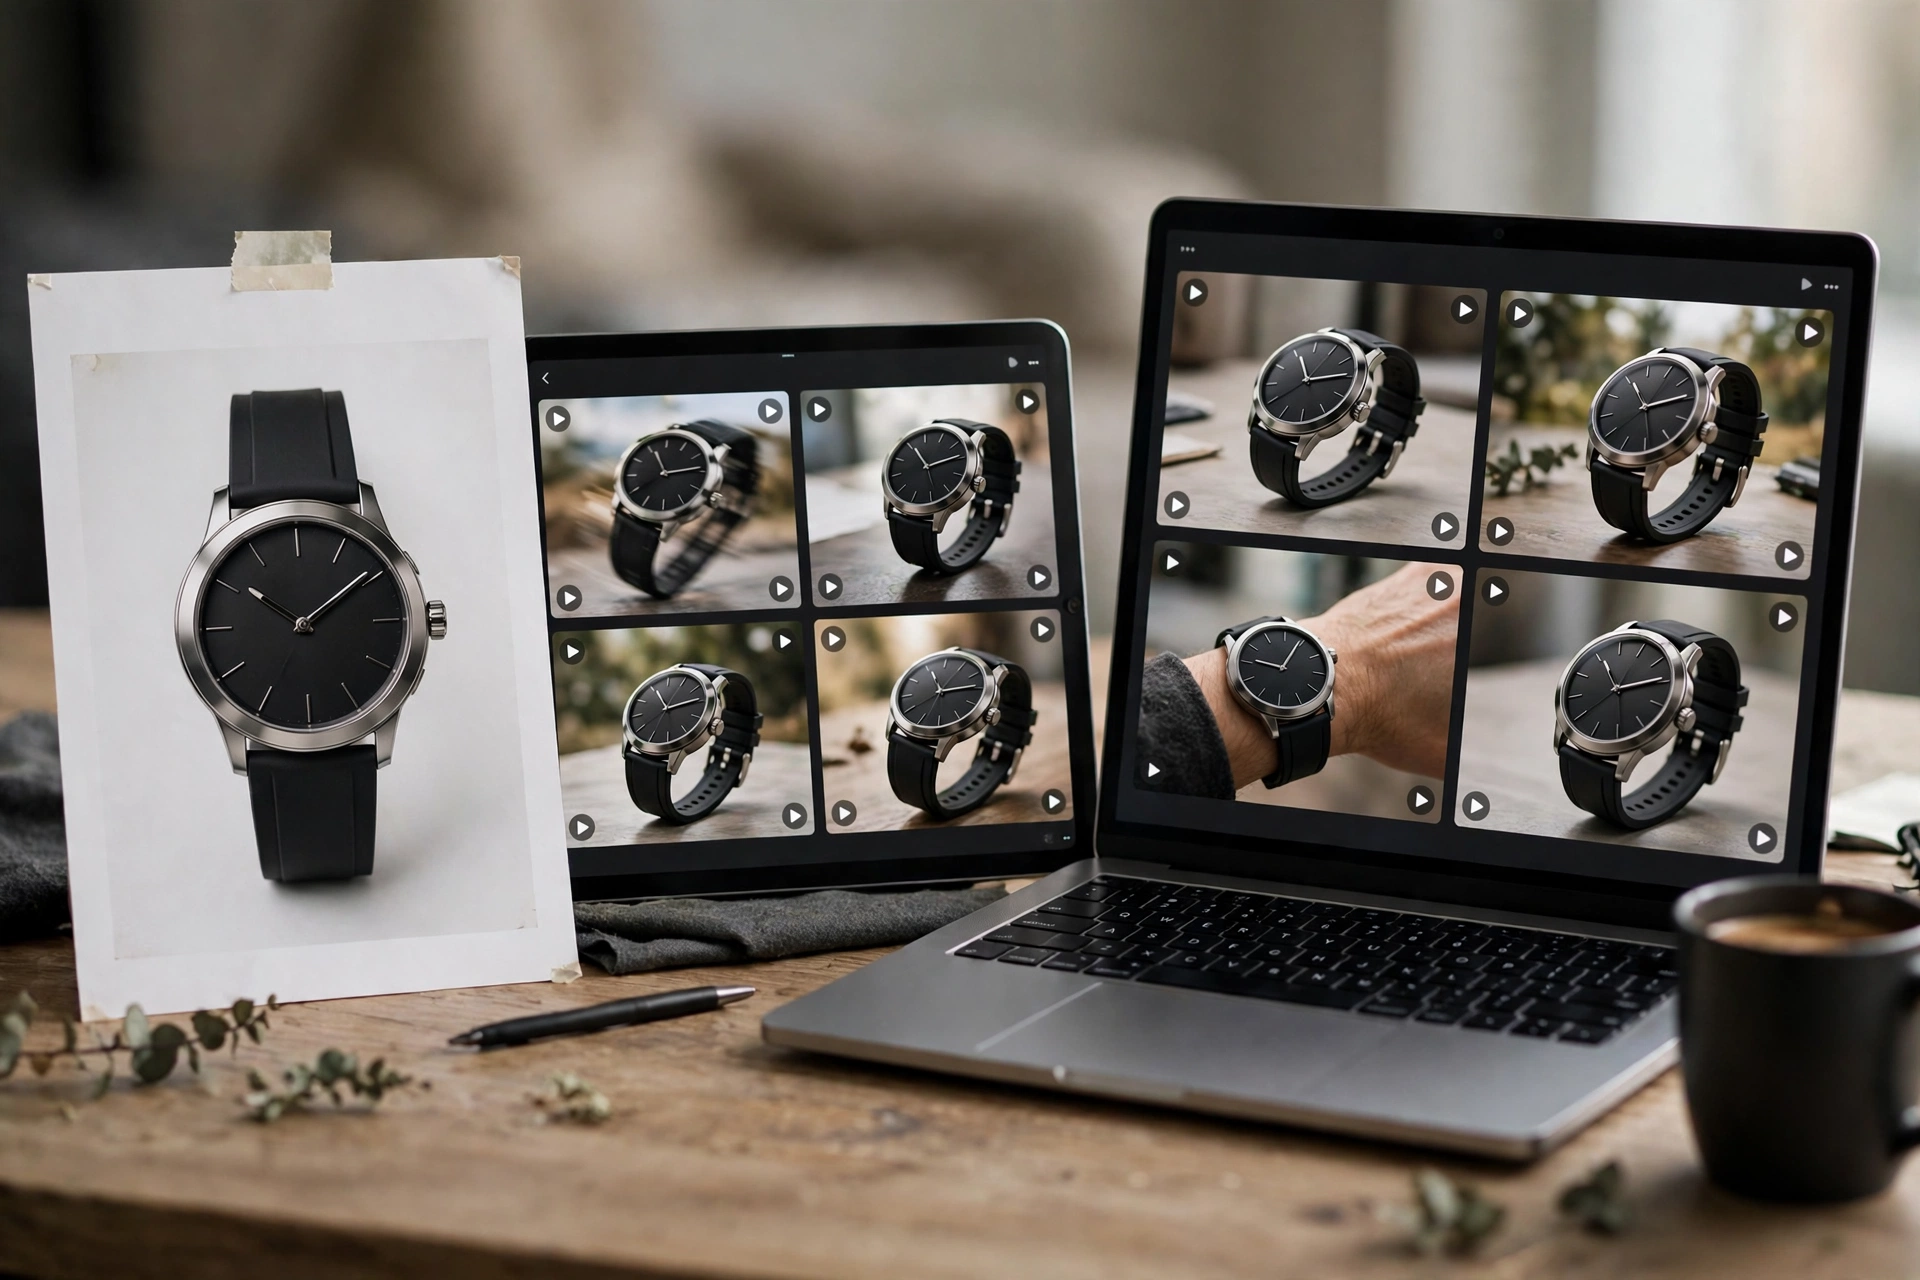
- Use the same photo. Pick one clear product photo — your real product, in decent light, with the label or key detail visible. Use the identical image in every tool.
- Use the same prompt. Write one short prompt describing the shot you want — the camera move, the mood, the setting — and paste the same wording into each tool. Do not improve the prompt for one tool and not the others.
- Run the same three checks on every result. Judge each clip against the checks below, in this order.
The three checks are:
- Product accuracy. Pause the clip at several points. Is the product still the product — the right shape, colours, proportions, and details? Or has it quietly become a similar-looking object?
- Motion stability. Watch the whole clip without pausing. Does the camera move smoothly and as directed? Does the background hold together, or does it flicker, bend, or invent new objects mid-shot?
- Text and logo safety. Zoom in on any label, logo, or printed text. AI video is notorious for mangling lettering, and a product ad with a corrupted logo is unusable for a real brand, however beautiful the rest of the clip looks.
Score each tool simply — pass, acceptable, or fail on each check — and write the scores down. Memory is generous to the tool you tried most recently; notes are not. A generator that passes product accuracy and text safety but has modest motion is, for most product ads, a better first tool than one with dramatic motion that fails the other two. And if a tool fails on your product, believe the test over the demo reel. The demo was made with the tool’s favourite kind of footage. Your product is the footage you actually have.
For the step-by-step workflows that sit either side of this testing stage — reference sheets, generation settings habits, and assembly — browse our Tutorials & Workflows category, which collects the practical guides in one place.
A Simple Starter Stack, Built From Tool Types
You do not need a named shopping list. You need one tool type per job, chosen with the criteria and test above. A minimal starter stack looks like this:
- Planning: a general AI assistant or a notes document, used for storyboarding and prompt drafting. In the reels behind this site, ChatGPT fills this storyboarding role.
- Reference images: an image creation or editing tool, or an all-in-one creation platform that handles image and video steps together. insMind is an example of that all-in-one type.
- Video generation: one image-to-video generator, learned properly before any second one is added. Google Flow, Seedance, and Pollo AI are examples of this type in the creator workflow behind this blog.
- Finishing: one video editor for trimming, ordering shots, sound, text, and export.

That is the whole stack: four roles, four decisions. It will make a complete, presentable product ad. Everything beyond it should be added for a named reason — a job this stack demonstrably cannot do — and tested the same fair way before it becomes part of your routine. When you read reviews or watch comparisons, translate every claim back into these four jobs. If a new tool does not clearly improve one of them for your product, it is entertainment, not an upgrade.
Common Mistakes When Choosing AI Tools for Product Ads
- Buying for the demo, not for your product. Showcase footage is chosen to flatter the tool. Your test, on your photo, is the only evidence that counts.
- Collecting generators and mastering none. Five accounts used twice each teach you less than one tool used fifty times. Depth produces the polished look beginners attribute to secret software.
- Ignoring the finishing stage. Skipping editing and exporting properly makes even good generations look amateur. The last job in the chain is not optional.
- Overlooking text and logos. Many creators judge a clip by its overall vibe and miss the mangled label in the corner. Brands will not miss it.
- Assuming free means free for business use. Free access, trials, and commercial rights are separate questions, and all of them change. Check the current terms on the official site yourself before client or paid promotional work.
- Changing tools mid-project. Switching generators halfway through an ad usually shows in the final result as inconsistent shots. Finish the project on the stack you started it with; test new tools on the next one.
Frequently Asked Questions
Do I need paid tools to start making AI product ads?
Not necessarily to start learning. Many creators begin by testing tools with whatever free access or trial a tool currently offers, and learn the workflow — planning, references, generation, finishing — before spending anything. What is available for free changes often, so check each tool’s official site for its current options. Pay when a limitation is genuinely blocking work you value, not on your first day.
Is one tool enough, or do I need several?
One tool per job is enough, and for the video generation job, one tool is usually best at the start. A minimal stack has about four roles in it, but several of those roles can be filled by simple or all-in-one tools you already have access to. Add a second generator only when your fair test shows a specific gap you need filled.
What matters most when choosing AI tools for product ads?
Product consistency. An ad exists to show a specific product accurately and attractively, so a tool that keeps the product, its details, and its branding intact through the whole clip is worth more than one that produces dramatic motion at the cost of accuracy. After consistency, judge camera control and export quality, and always confirm the commercial use terms suit your purpose.
How do I know if a tool is good for Reels and Shorts?
Test it with a vertical output in mind from the start. Generate your test clip, export it, and view the actual file full-screen on a phone. Check that the product is framed well in 9:16, that details and text survive at phone size, and that nothing important was cropped away. A tool that only shines in widescreen demos may not suit a vertical-first workflow.
How often should I re-evaluate my stack?
Whenever a tool’s update, pricing, or terms change in a way that affects you — and those changes are frequent in this space — or when your fair test shows your current generator failing a job you now need regularly. A quick re-test with the same photo and prompt a few times a year keeps your stack honest without turning tool-watching into a hobby that replaces making ads.
Conclusion: Choose by Job, Test on Your Product, Start Small
The search for the best AI tools for product ads has a shorter answer than the internet suggests. There are four jobs. There is a short list of criteria that matter, and consistency sits at the top of it. There is a fair test — same photo, same prompt, three checks — that will tell you more in an afternoon than a month of other people’s reviews. And there is a starter stack small enough to learn in a week and strong enough to produce a real ad.
Start there. Make one complete ad, from storyboard to export, before you add anything. The confidence that comes from finishing is worth more than any single tool, and it is the only reliable foundation for judging the next one.
For the prompts, workflows, and finished examples behind this guide, follow @thefhd.ai on Instagram — the reels there show this exact stack in action, one product photo at a time — and keep exploring the guides here on FHD Media as you build your own.